
Preparation:
I recommend that you use a cast Iron pot to bake your Arepa that's how it's originally baked
You will need to spread butter all around your cast Iron pot or 3 inch tall cake pan
Preheat oven to 350
Preparacion:
Engrasar con mantequilla un molde de su preferencia.
Yo use dos de unas 3 pulgadas cada uno.
calenta en horno a 350
Ingredients:
1/2 cup of butter (1 stick)
2 cans evaporated milk
3 1/2 cups cold water
2 cups Corn Meal
1 1/4 of cup sugar
2 teaspoons salt
2 boxes of raisins
1 tablespoon vanilla
4 cinnamon sticks
1 can coconut milk
Grated Coconut (optional)
Nutmeg (optional)
Ingredientes:
1 barra de mantequilla.
2 latas de leche evaporada
3 1/2 tazas de agua fria
2 tazas de Arina de Maiz
1 1/4 taza de azucar blanca
2 cucharaditas de sal
2 cajitas de pasas (oh tu gusto)
1 cucharada de vainilla
4 palitos de canela
1 lata de leche de coco any brand
Coco Rayado a tu gusto (opcional)
Nuez Moscada a tu gusto (opcional)
Note:
If You don't have two cans of carnation milk in hand you could use one can of carnation milk use the same can and fill it up with regular milk
Nota:
Si no tienes dos latas de leche evaporada usa una y con la misma lata regenala con leche regular

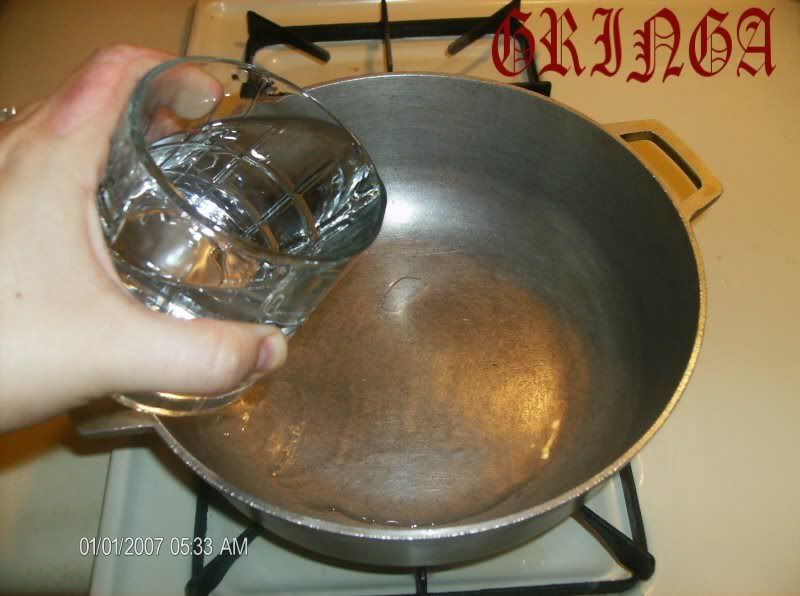
Here we put 1/2 cup of water
Aqui colocamos 1/2 taza de agua
Add the cinnamon
Pon la canela
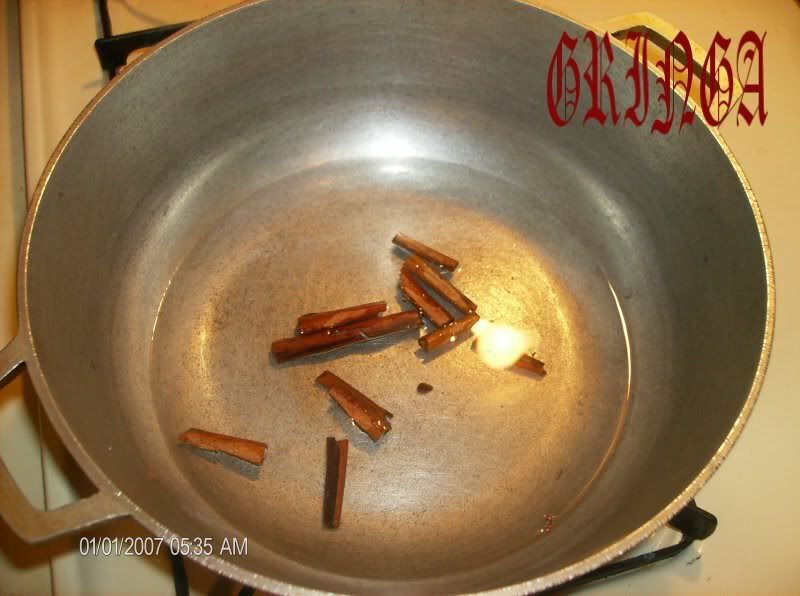
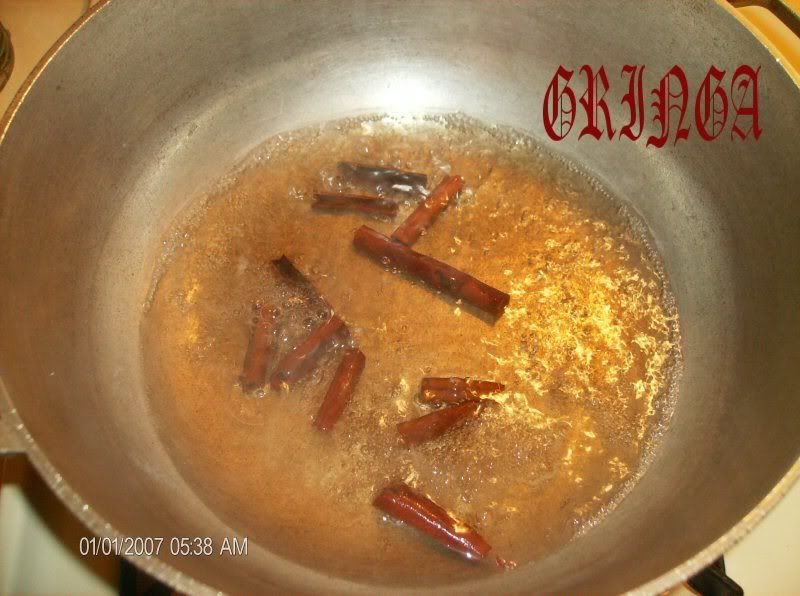
Let it boil for 3 minutes
la dejamos hervir por 3 minutos
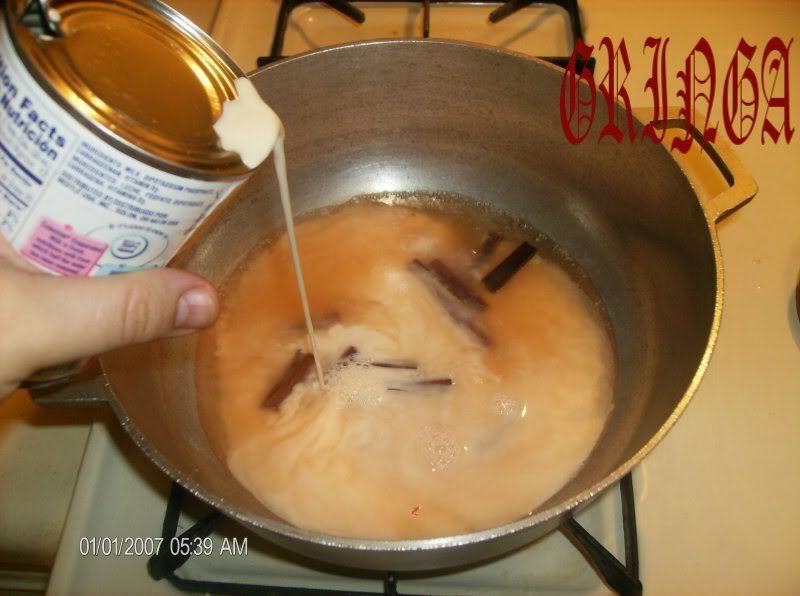
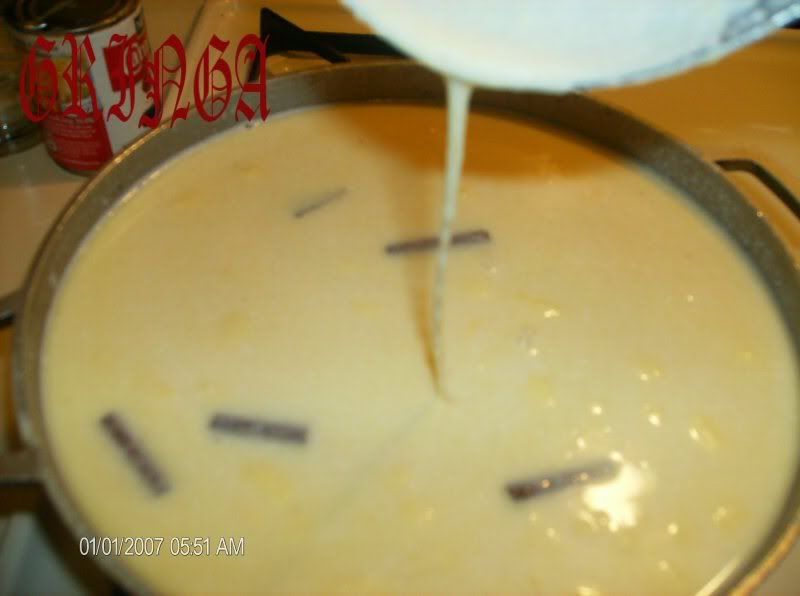
Add the Carnation Milk
Añadimos la leche evaporada
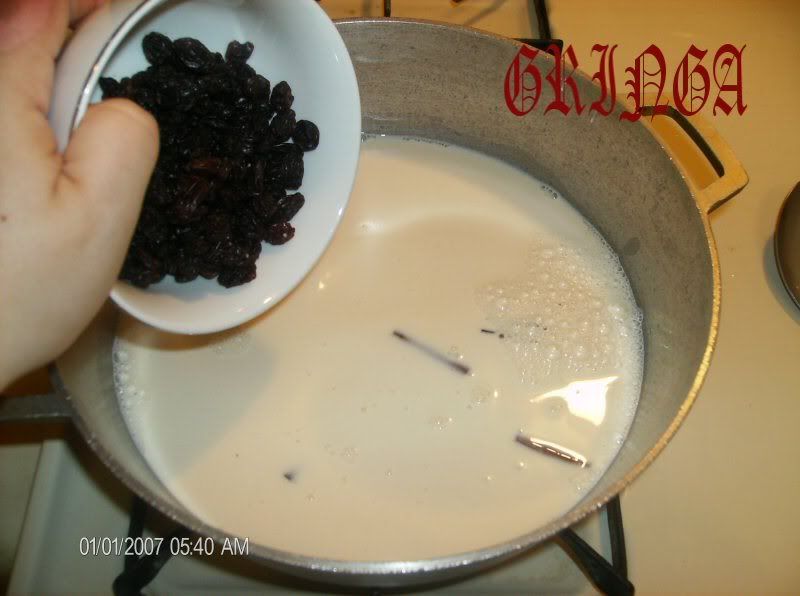
Add the Raisins
Añadimos Las pasas
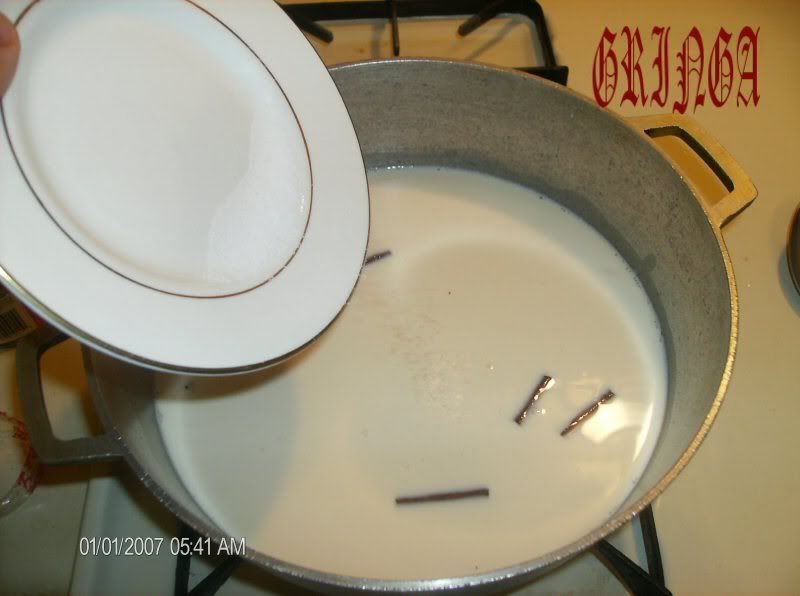
Add the salt
La sal
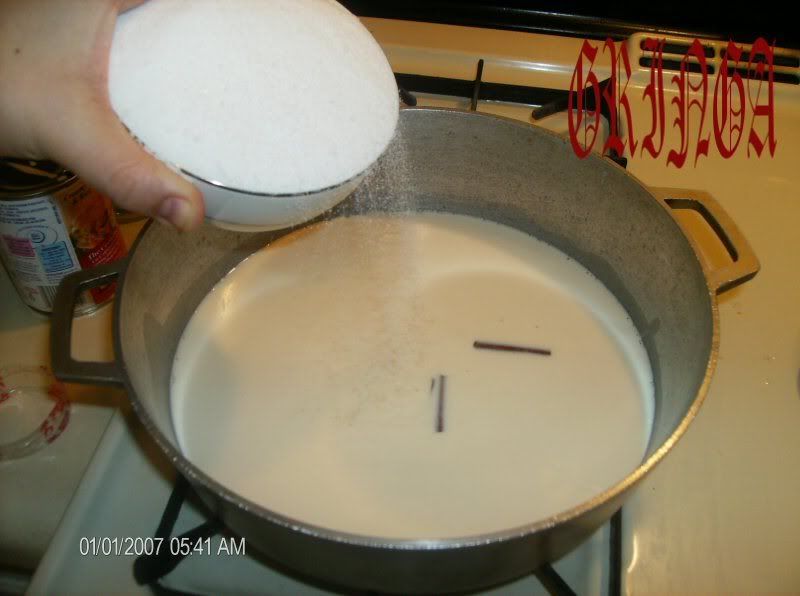
Add The Sugar
Añadimos La azucar
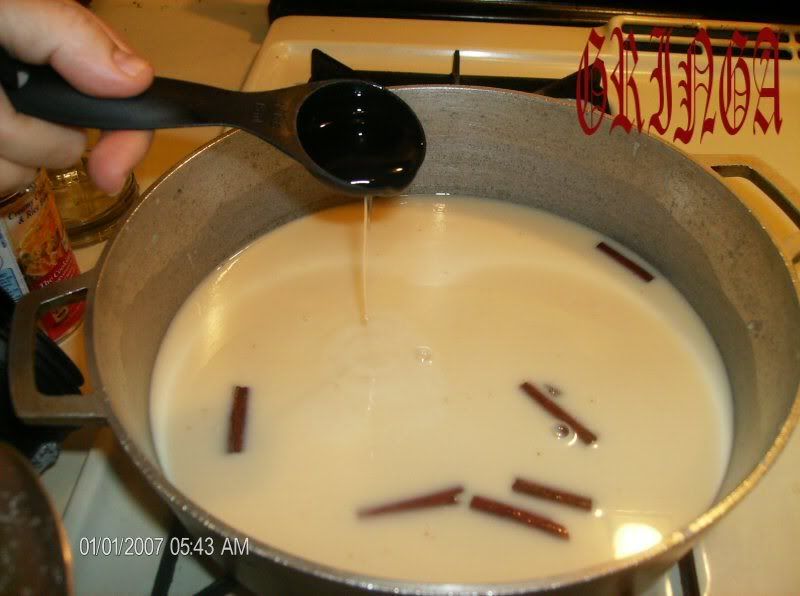
And the vanilla and Stir the ingredients well.
la vainilla y movemos los ingredientes para que se mexclen bien.
Add the Coconut milk
Ahora colocamos la leche de coco

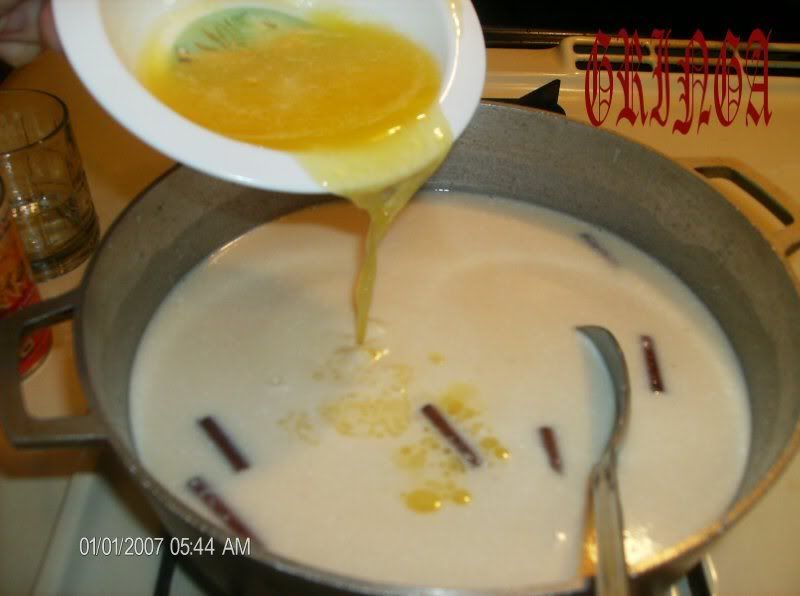
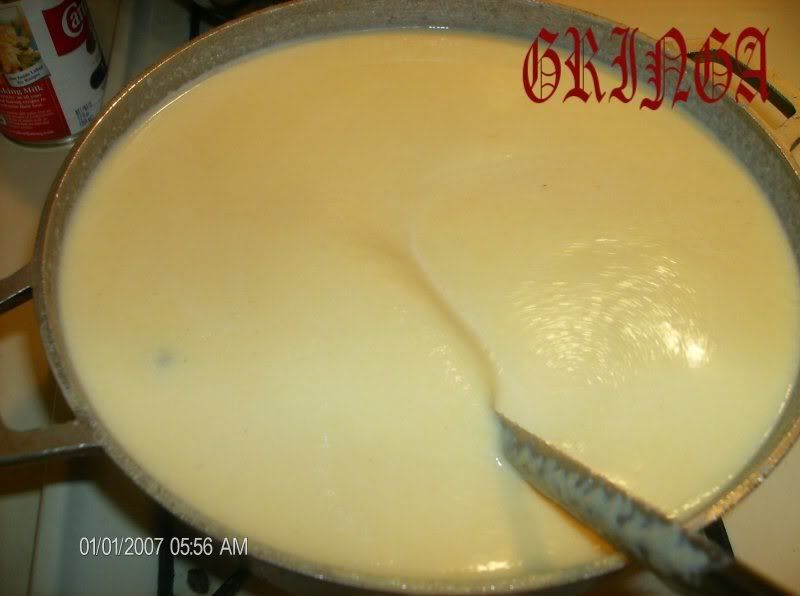
Add the Stick of butter or melted butter. Now we stir everything well and lower down the fire, so it won't boil just simmer.
Agrega la mantequilla Aqui lo movemos todo para que se mexcle bien y bajamos el fuego, ya que esta mexcla no puede hervir.
At this point you can add the grated coconut and nutmeg add the amount to your liking
A este punto agrega le el coco rayado y nuez mocada a tu gusto
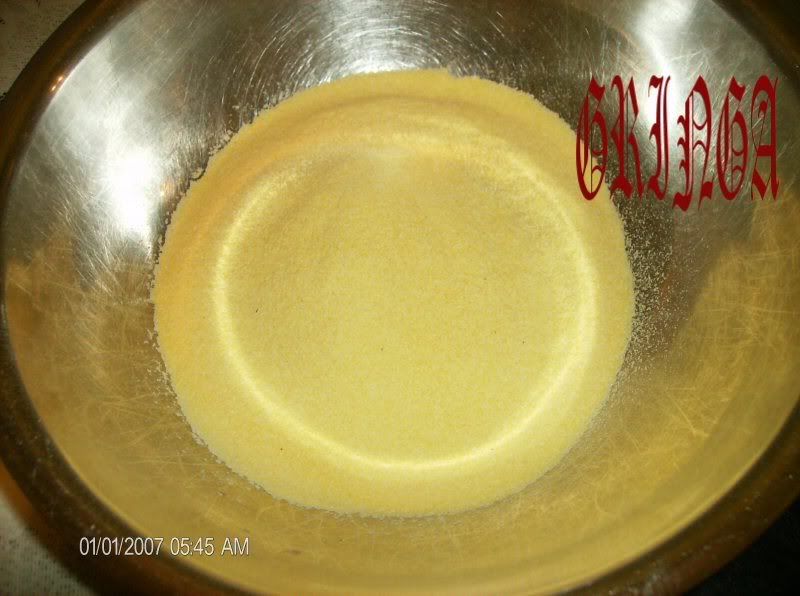
Add the two cups of corn meal in a bowl
Pon la dos tazas de arina en un tazon
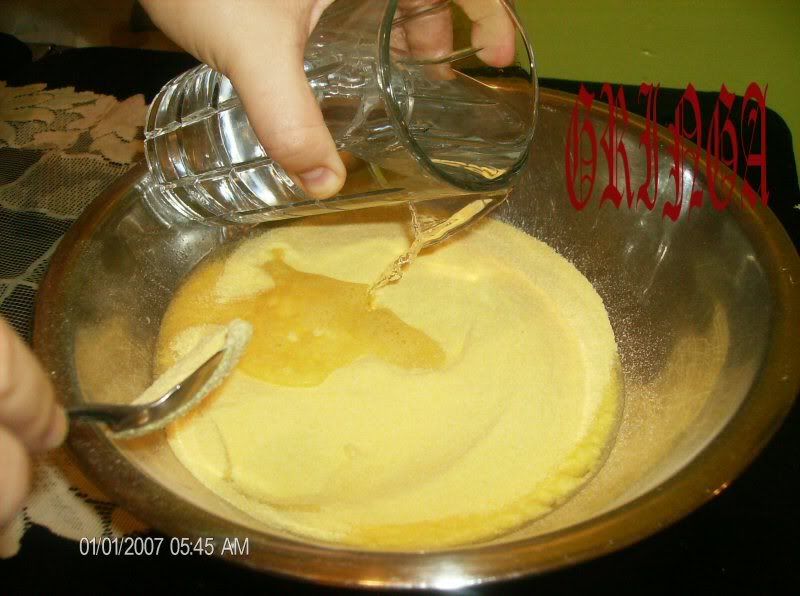
Add the 3 cup cold water gradually and stir well.
Le colocamos las 3 taza de agua fria, poco a poco y la vamos moviendo para que se una.
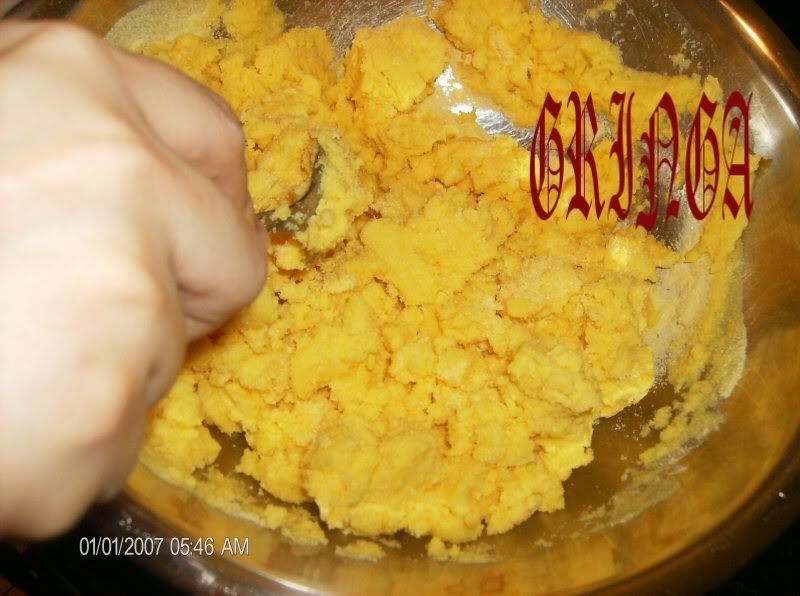
If not dissolved and it looks like this image you can add a little more cold water if needed .
Si no se disuelve y se ve como esta imagen le puedes colocar mas agua fria.
Now stir the corn meal with the other ingredietes, and slowly stir in and stir to prevent sticking.
Ahora vamos a mexclar la arina con los otros ingredietes, lo hacemos poco a poco mientras lo vamos moviendo para que no se pegue, oh se haga bolitas.
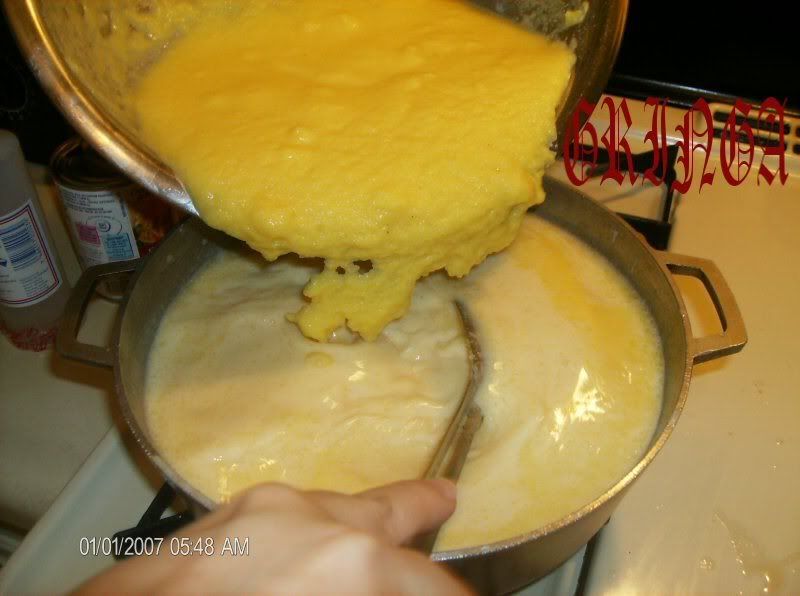
Put the heat up a little you have to keep stirring without stopping, so it won't stick or burn at the bottom of your pot.
Suve el fuego un poco tenemos que mantenerlo moviendo sin parar, para que no se queme oh se pegue al caldero. Y asi es que ira poniendose la mexcla.
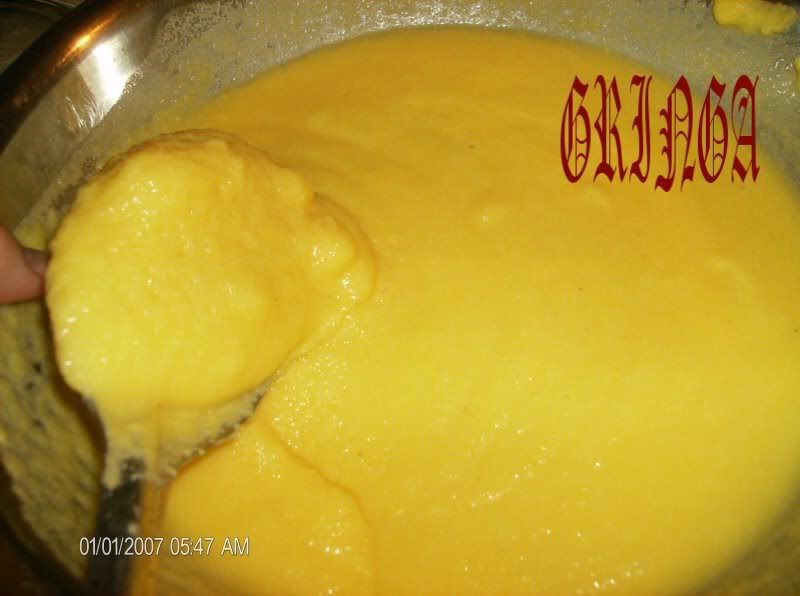
Here you can see that is starting to get thicken.
Asi deve de estar de espesa
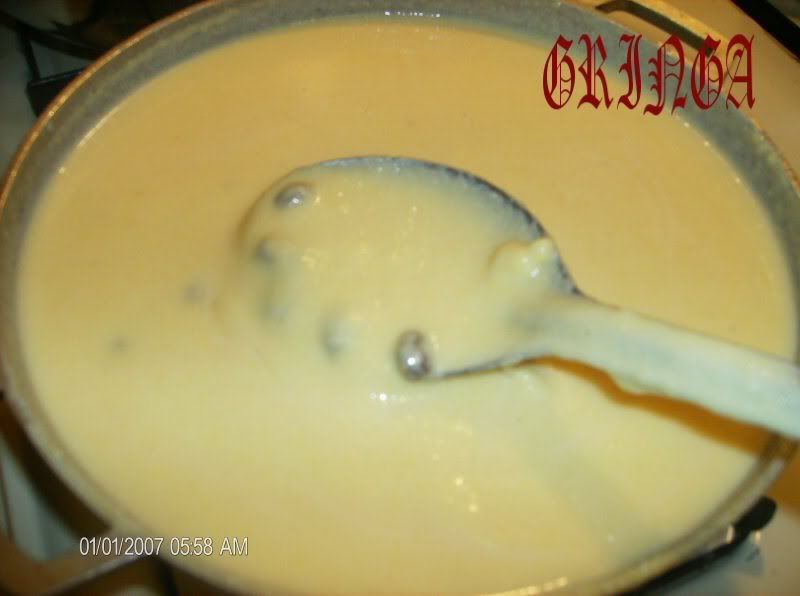
The arepa is almost ready. It must be like in this photo, thick and when you see it starts to form bubbles is already.
Ya la arepa esta casi lista. La mexcla tiene que quedar como en esta foto, espesa y cuando ya vean que hace como burbujas es que ya esta lista.
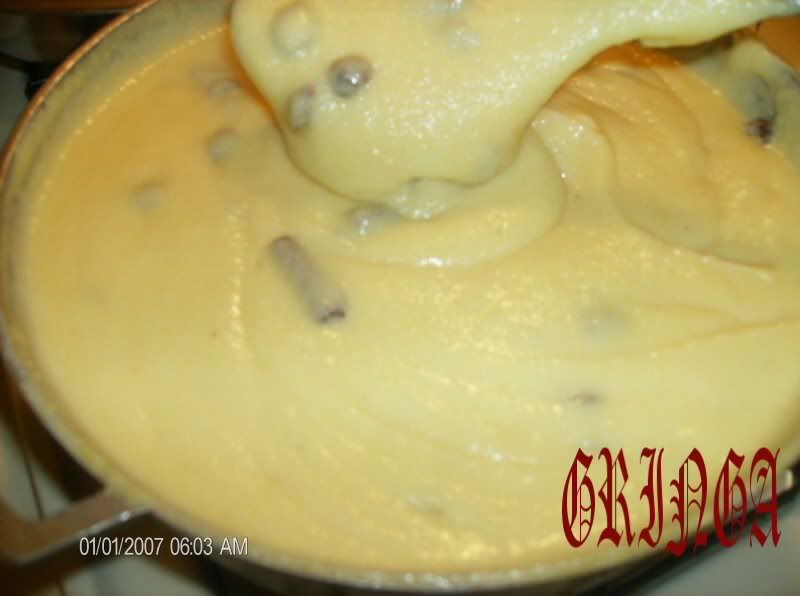
Before Pour mixture into the buttered pot or pans you can remove the cinnamon sticks if you like I remove mine.
Ya lista la colocamos en el molder engrasado con mantequilla. Tu pudes removel los palitos de canela si quesres.
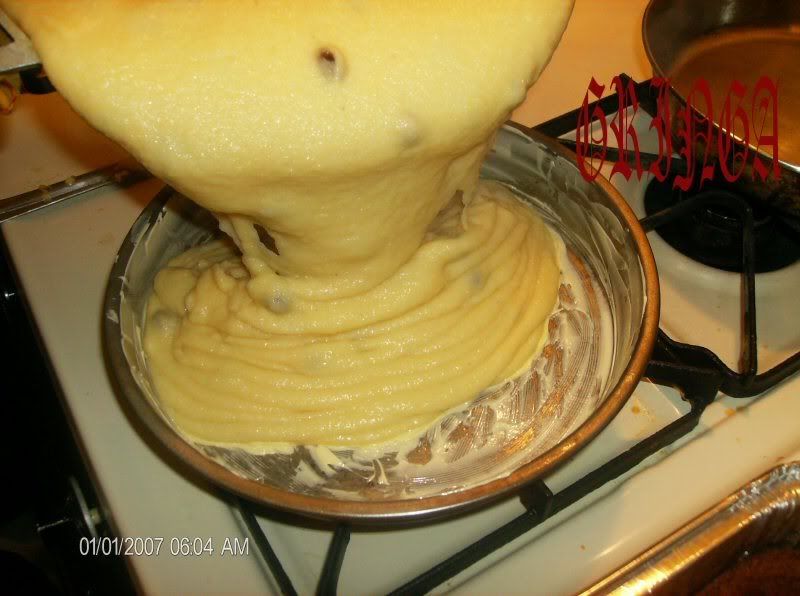
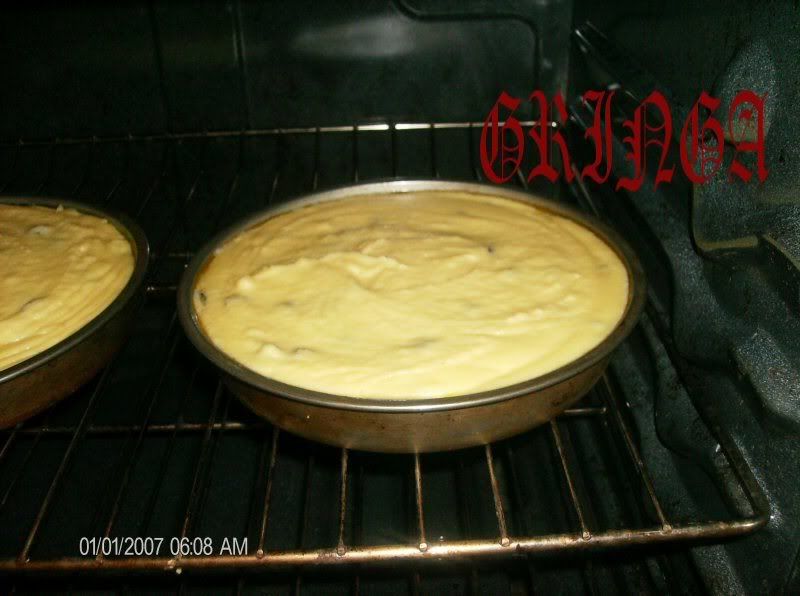
Now it's ready to enter the oven
Aqui esta lista para entrar al horno

Place them into the oven for 45 minutes to an 1 hour at a temperature of 350 degrees.
La ponemos al horno por 45 minutos a una hora a temperatura de 350 grados.
After an hour of baking if your Arepa doesn't look like the Picture below then turn up the oven to 500 check your arepa every 5 mins bake The arepa is ready when it's gets browned on top and sides like the picture below.
Despues de la hora si tu arepa no seve como la foto abajo suve la temprelatura del horno a 500 cada 5 minutos mirala a vel si esta ven adoradita como la foto ya la arepa esta lista
This is how the Arepa should look
Asi deve luce la Arepa

ATTENTION:
You shouldn't remove the Arepa from your pot or cake pan cover it with plastic wrap or foil paper and set it aside let it completely cool down it's best to make the Arepa at night and cover it till the next day if you don't do this and remove it while it's still warm the middle will still be soft and it will break apart.
ATENCION:
No las puedes sacar del molder hasta que este bien fria, pues todavia estara bien blandita y si la sacan se desbaratara. Es mejor dejalar enfriar tapada por unas horas por eso es mejor asel la arepa por la noche y tapala bien asta el otro dia y ya la puden sacar bien del molden .

Here is the Arepa in slices eat and enjoy with a cup of coffee or hot cocoa
Aki esta la Arepa picada y lista para comer con una taza de cafe o un chocolate calente
Aki esta la Arepa picada y lista para comer con una taza de cafe o un chocolate calente

*This recipe is by Gringa74*


